





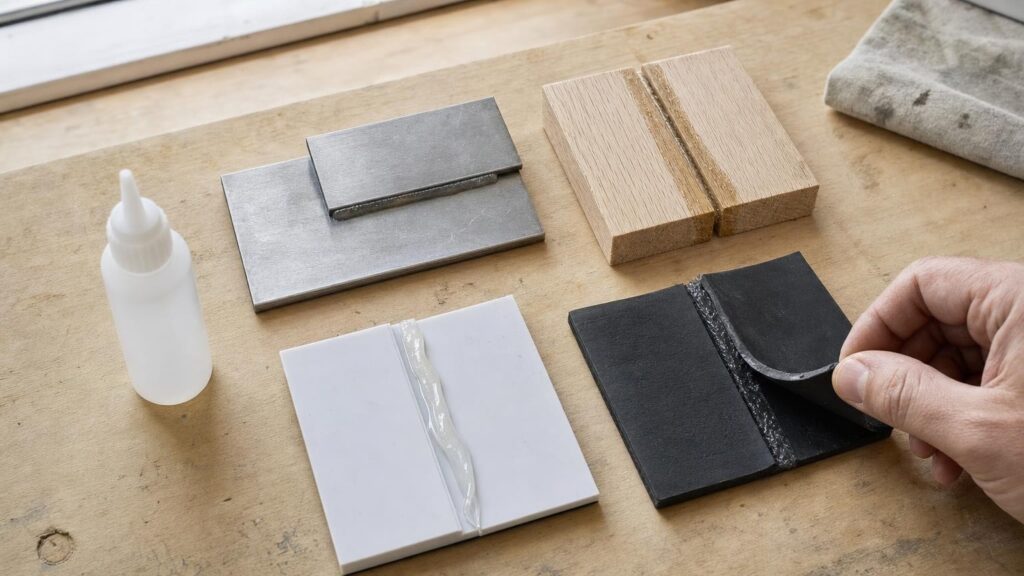
“Strong glue” sounds like a simple buying requirement, but adhesive strength is never a property of the glue alone. A successful bond depends on the adhesive, both materials, the condition of their surfaces, the shape of the joint, the curing process and the conditions the finished object must withstand.
A formula that works well between two close-fitting metal parts may be unsuitable for flexible rubber, absorbent wood or a plastic with a difficult-to-wet surface. Understanding these differences makes it easier to choose an adhesive by what the repair actually requires rather than by the largest strength claim on the pack.
Why “strong glue” is not a universal specification
Two kinds of strength affect an adhesive joint. Adhesion describes how effectively the adhesive holds onto each surface. Cohesion is the internal strength of the cured adhesive itself. A hard adhesive may have high cohesive strength but still detach cleanly if it cannot adhere properly to one of the materials.
The materials themselves can also fail. A glue may remain attached while paint lifts from a wall, fibres pull out of cardboard or a brittle plastic cracks beside the repair. In these cases, the headline strength of the adhesive does not describe the strength of the complete assembly.
Strength figures are also linked to particular test methods and joint arrangements. A wide, overlapping joint pulled sideways is fundamentally different from a small bonded edge being peeled apart. Unless the stated materials, preparation and loading resemble the intended repair, a single strength figure has limited value for comparison.
How surface energy and porosity change what will stick
For an adhesive to bond, it must first wet the surface. Good wetting occurs when the liquid spreads into close contact rather than pulling into droplets or beads. Clean glass and many bare metals have relatively high surface energy and are generally easier to wet. Some plastics have low surface energy, making them much more difficult for ordinary adhesives to grip.
Polyethylene and polypropylene are familiar examples of plastics that can require a specialist adhesive, primer or surface-treatment system. Identifying “plastic” is therefore not precise enough. Two similar-looking plastic objects may respond very differently to the same formula.
Porosity creates another set of choices. Wood, unglazed ceramic, fabric, paper and some masonry materials can draw a low-viscosity adhesive into their pores. Limited penetration can help establish a mechanical key, but excessive absorption may leave too little adhesive at the bond line. A thin product can appear to disappear without creating a continuous joint.
Smooth, non-porous surfaces do not absorb the liquid. The adhesive must remain between them while also wetting both sides. This makes application thickness, contamination and curing access particularly important. A very thick product may bridge a gap, but it still needs intimate contact with each surface; “gap-filling” does not mean it can bond effectively to dirt, grease or an incompatible substrate.
The joint matters as much as the materials
Adhesive joints can be loaded in several ways:
- Tension pulls the two surfaces directly apart.
- Shear tries to slide one bonded surface across the other.
- Peel concentrates force along a moving edge, rather like lifting tape.
- Cleavage prises a rigid joint open from one side.
Many rigid adhesives perform best in thin, close-fitting joints with a generous overlap, where forces are distributed across a broad area. They can perform poorly when force is concentrated at an edge or when a flexible part repeatedly peels away. Increasing bond area may help, but only if the joint shape allows the load to be spread effectively.
Gap size matters too. Cyanoacrylates usually favour very close-fitting surfaces, whereas many epoxies and sealant-adhesives can accommodate a thicker bond line. However, a large unsupported gap can still become a weak section, and a thick layer may cure differently from a thin one.
Dissimilar materials add another complication. Metal, glass, wood and plastic can expand, contract or flex by different amounts as temperature and moisture conditions change. A rigid adhesive between moving substrates may experience stress even when the object is not carrying an obvious load. A more flexible bond can absorb some of that movement.
Five adhesive families, five different bonding mechanisms
Cyanoacrylates
Often described as instant adhesives, cyanoacrylates cure rapidly in the presence of small amounts of surface moisture. They are convenient for small, accurately fitting parts because a thin bond line can form quickly with little clamping time.
The same characteristics limit their usefulness elsewhere. They are generally not intended to replace missing material or fill a large irregular gap, and a rigid bond can be vulnerable to peel, impact or repeated flexing. Rapid fixture does not necessarily mean that the joint has reached its final properties.
Two-part epoxies
Epoxies cure through a chemical reaction between resin and hardener. They can bond many rigid materials and are available in consistencies suited to thin layers or gap filling. Their longer working time can help with positioning and more involved assemblies.
Performance depends on dispensing and mixing the components in the specified ratio. Incomplete mixing can leave soft or uncured areas, while inaccurate proportions can disrupt the reaction. Epoxy is not automatically suitable for every plastic or flexible material, and its rigidity may be a disadvantage where a joint moves.
Contact adhesives
Contact adhesive is normally applied to both surfaces and allowed to dry for a controlled period before they are pressed together. The bond forms on contact, so accurate alignment is important because repositioning may be difficult.
This method is useful for broad surfaces and flexible sheet materials when the specific substrates are supported. It is less convenient for joints that must be slid into place or adjusted after contact. Applying the adhesive and immediately joining wet surfaces can prevent the required evaporation and produce a poor result.
Solvent cements
A solvent cement is not a universal adhesive for plastics. It softens compatible plastic surfaces so that they merge at the joint as the solvent leaves. This is closer to welding than placing a separate cured glue layer between the parts.
The process works only with plastics compatible with that particular cement. Similar appearance is not evidence of chemical compatibility, and coatings or unknown plastic blends can change the result. It is therefore especially important to identify the material and follow the stated application conditions.
Flexible sealant-adhesives
Flexible products cure into an elastic bond that can tolerate vibration, differing rates of expansion and modest joint movement. Their thicker consistency may help with uneven surfaces, and they can also seal a joint against moisture when used as directed.
The trade-off is that elasticity is not the same as rigid structural strength. A flexible bead may allow movement where a hard epoxy would hold parts in exact alignment, but it may be unsuitable where the assembly depends on a thin, stiff and precisely located connection.
Curing method changes both the job and the result
Labels use several time-related terms that should not be treated as interchangeable. Open time is the usable period after application before assembly must occur. Working or assembly time describes the window for positioning. Fixture time is when the joint can usually remain in place without support. Full cure is the later point at which the adhesive is expected to develop its intended properties under the stated conditions.
Evaporation-based adhesives need a route for water or solvent to escape. Trapping a wet layer between two impermeable surfaces can slow or prevent setting. Contact adhesives address this by allowing controlled drying before assembly.
Two-part systems do not rely primarily on evaporation, but they need accurate proportioning, thorough mixing and a suitable temperature range. Moisture-curing products rely on atmospheric or substrate moisture, so a thick bead or deeply sealed joint can cure more slowly from the outside inward. Solvent welding depends on the correct solvent interaction and sufficient time for the softened joint to stabilise.
Cold conditions commonly slow curing reactions and increase viscosity, while temperature and humidity can affect application and cure in other ways. The product instructions are therefore part of the bonding system, not optional background information.
Rigid bond or flexible bond?
Before choosing, consider how the object will be used after repair. Will it experience vibration, impact, repeated bending, changing temperatures, outdoor weather or regular contact with moisture? A hard adhesive may distribute a static load effectively but concentrate stress when the substrates flex. An elastic adhesive may absorb movement but allow too much displacement for a precisely aligned component.
Claims such as “waterproof”, “heat-resistant” and “gap-filling” need context. They normally refer to a properly prepared and fully cured joint involving supported materials. They do not mean that the adhesive can be applied to a wet, contaminated surface, tolerate every temperature or bridge any gap without adequate contact.
Exposure can also affect the substrate or the surrounding finish even when the adhesive remains intact. Outdoor suitability, for example, involves more than resistance to water alone. Temperature cycling, sunlight, movement and the way moisture reaches the joint all matter.
Surface preparation is part of the bonding system
Even a compatible adhesive can fail on a poorly prepared surface. Grease, dust, loose corrosion, release agents, oxidation, polish and old adhesive residue can form a weak layer between the adhesive and the actual material. Painted or coated surfaces are only as strong as the coating beneath the bond.
A sensible preparation sequence is to:
- Identify both materials, including any paint, plating, laminate or other surface layer.
- Remove loose contamination and old residue without damaging the underlying item.
- Clean and dry the surfaces using a method suitable for those materials.
- Lightly abrade only where the adhesive instructions and finish allow it.
- Test-fit the parts and arrange clamps, supports or alignment aids before mixing or applying adhesive.
- Apply the specified amount and maintain the required position throughout fixture and cure.
More aggressive preparation is not always better. Abrasives can spoil a visible finish, solvents can damage or craze some plastics, and excessive sanding can enlarge a joint that needs a close fit. Material-specific instructions should take priority over a generic preparation routine.
Read specifications by material, joint and use
A useful comparison starts with the repair rather than the adhesive category. Work through the following questions:
- What are both substrates? “Metal to plastic” is more informative than “mixed materials”, but identifying the type of plastic and any coating is better still.
- Are both materials explicitly supported? Suitability for one side of the joint does not establish suitability for the other.
- How well do the parts fit? Note whether the product expects a thin bond line or can accommodate a defined gap.
- How will the joint be loaded? Look for movement, peel forces, vibration and impact rather than considering weight alone.
- Can the curing method work here? Consider ventilation, access, temperature, humidity, mixing and whether an evaporation-cured layer will be trapped.
- How much positioning time is needed? A rapid bond can be useful for a simple repair but troublesome for a large area requiring precise alignment.
- What finish and application control are required? Viscosity, colour, bead size and dispenser format can matter on visible or delicate work.
Pack size deserves attention as well. A large quantity is not necessarily better if the chemistry has a limited usable life after opening or if accurate dispensing becomes harder. For two-part products, the packaging should also suit the amount required while allowing the specified ratio to be maintained.
A better way to choose before committing to the repair
Start by identifying both materials and observing whether they are porous, smooth, flexible, coated or difficult to wet. Then inspect the joint: determine its gap, bond area, alignment needs and likely exposure to peel or movement. Next, decide whether the location provides the time and conditions needed for the adhesive to cure correctly.
Compare products only after these requirements are clear. Check explicit material compatibility, bond-line needs, flexibility, working time, cure conditions and intended service environment. Where appropriate, test compatibility on a small inconspicuous area before committing to a visible or difficult-to-reverse repair.
The best household adhesive is not the one making the broadest claim. It is the system whose chemistry, application method and cured behaviour match the two surfaces and the complete joint.
Continue exploring on Frowse
Discover More Frowse Insights
- How Frost-Free Refrigerators Manage Heat, Air and Moisture
- How Steam Irons Produce, Control and Lose Steam
- Where Ink Goes When an Inkjet Printer Is Not Printing Pages
- Behind a Kitchen Knife’s Edge: Geometry, Hardness and Sharpenability
- Drive Size, Socket Size and Point Count: Understanding Socket Compatibility